Test cases are incredibly helpful in writing stress free code and when you need to migrate your frameworks. Let's look into how you can start writing tests for React using the Cypress testing framework. We'll have a look at best practices, examples and more!
End to end tests are written to secure the progression of an application in terms of security, scalability and compatibility. Rather than dealing with the tests yourself — you know, physically clicking everywhere on the application — you can compose a test that runs as you construct the application. When this is combined continuous integration, it’s something excellent. Keep in touch with some code, save it, and let tooling accomplish the messy work of ensuring it doesn’t break anything!
Integration testing is the best way to scale your application, in this way Cypress rules the end-to-end testing. Cypress does all the clicking event and form filling too. So, let’s see how it works with React!

Install Cypress to test an app
The following command will help you to install Cypress and let’s do the initial setup.
- Installing Cypress via NPM
npm install cypress --save
- Installing Cypress via Yarn
yarn add cypress
This will install the Cypress in your project. After successful installation makes sure the node_modules folder or package.json file in the root of your project has Cypress.
Run this command to open Cypress,
Using npm
npm run cypress:open
Using yarn
yarn run cypress open
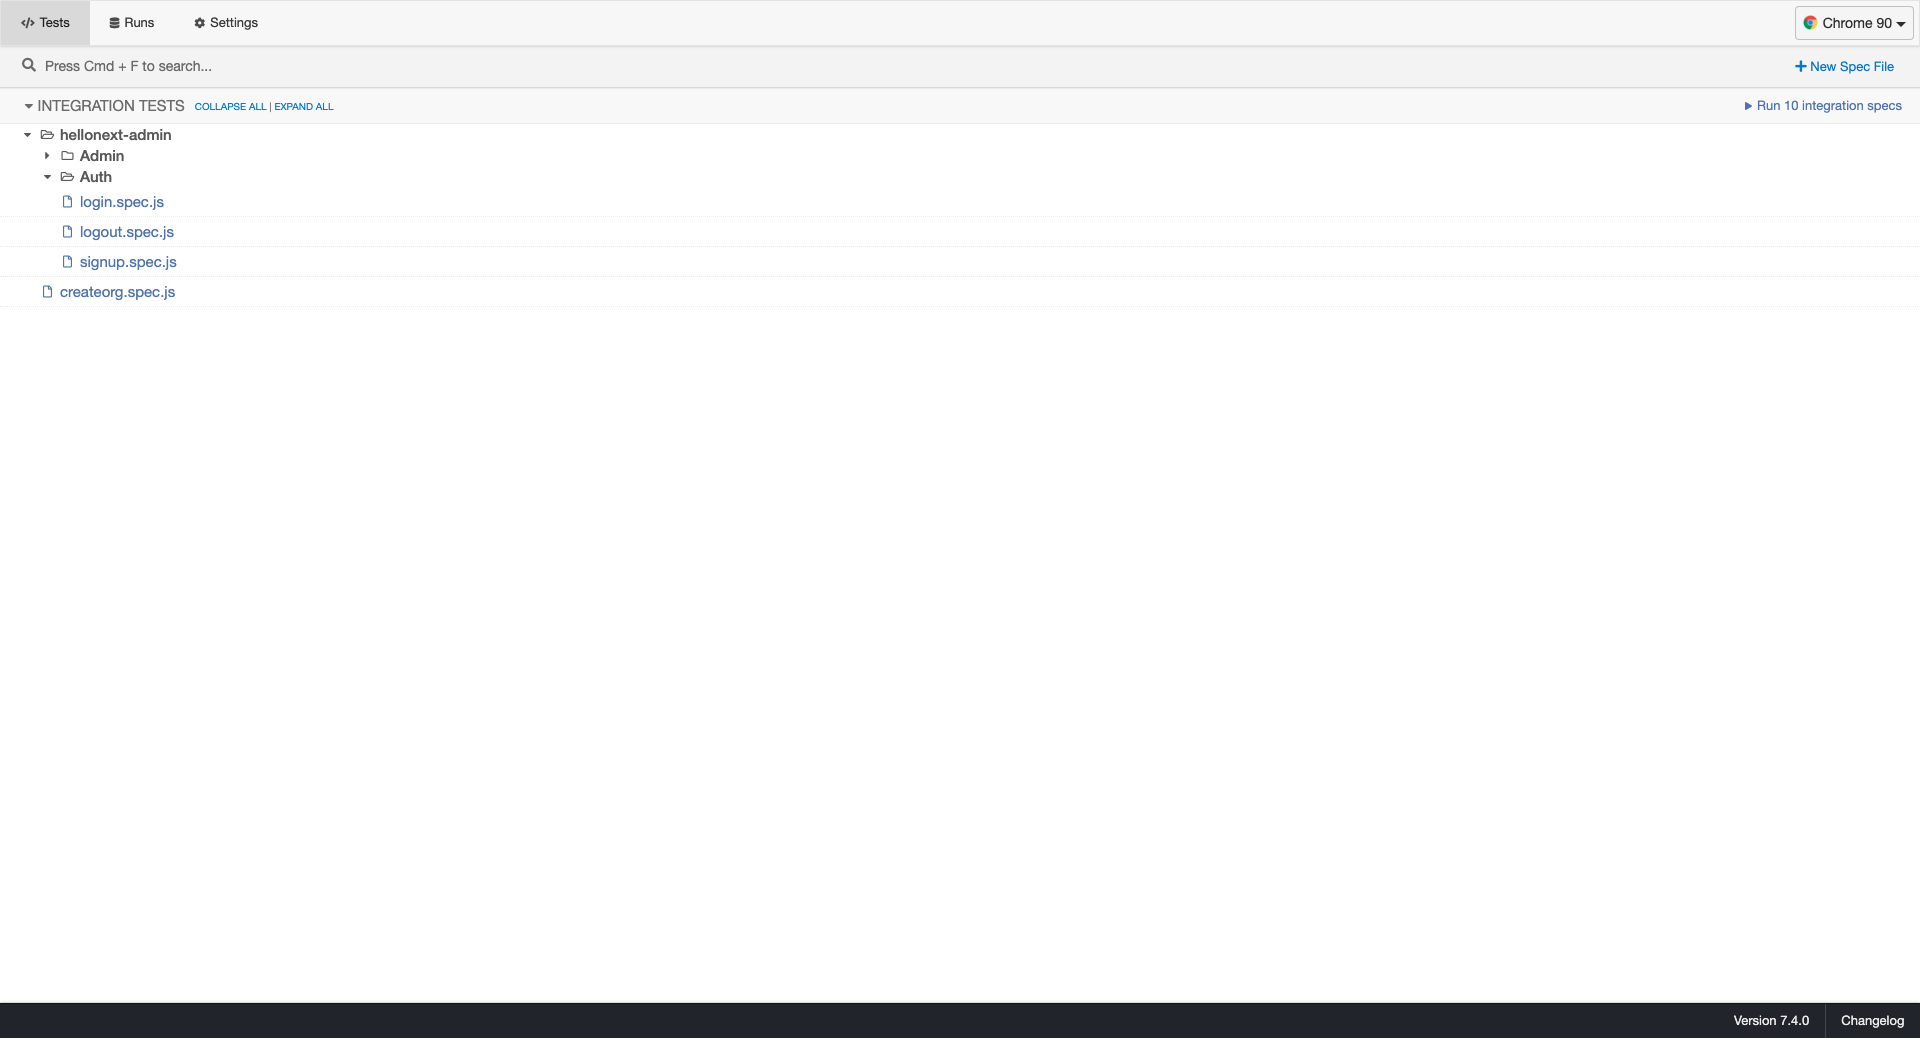
The above comment will create one browser instance to test your application and it shows the list of test cases you wrote.
The Cypress instance window looks like this,
Before we start test cases, will quickly look into the common best practices for test cases through over my experience.
3 Common Best Practices
- Always use the data-test-id attribute to select the element. It will not affect your CSS in anyway. If you target the text content may your test fail when text content changes.
- If you repeat some steps for all the tests in a single file, you can move them inside the “beforeEach” function. It will execute those commands before each test starts.
- Sometimes you have to wait until the API call ends. You can use the Intercept method for this. It eliminates the unnecessary Cypress waiting times.
There are many more best practices mentioned in the Cypress docs!
Testing Inputs and Button Click
Before we start to write the test cases, need to add the baseUrl in our config file called cypress.json. Open the config file then add the following code to it
{
  "baseUrl": "http://app.lvh.me:3000"
}
This helps you to avoid having to write the URL time and again, Cypress can automatically combine the base-url and render the page as your React app.
Let’s dive into the React component testing.
In our application, we have two input fields and one login button for sign in. Let’s write a test case for that!
import { constants } from "../../../constants";

describe("Login Test", () => {
  beforeEach(() => {
    cy.visit(`${constants.SIGN_IN}`);
  });

  it("Valid Admin Login Test", () => {
    cy.get("[data-test-di=user_email]").type("[email protected]");

    cy.get("[data-test-di=user_password]").type("password");

    cy.get("[name=commit]").click();

    cy.contains("Sign Out");
  });
});
cy.visit()
This Cypress command visits the URL you’ve passed in. Wonder what is this
${constants.SIGN_IN}command. I’ll explain later in this blog!beforeEach()
The beforeEach() command executes before each test case runs. What is the use of the beforeEach() command? If you repeat the same actions at beginning of each test case, you should move those commands inside the beforeEach() function.
cy.get().type()
The Cypress get command will get the element that you mentioned in the get function. After getting the mentioned element, it will type into it. Here, I found my email input element based on the data-test-id and will type in the email address. The same thing is followed for user password also.
cy.get().click()
Just like how I used cy.get().type() previously to retrieve the element based on the name '[name=commit]', this Cypress command will retrieve and click! This allows the user to login.
Important: Use of ${constants.SIGN_IN} inside visit command.
Just like how you can import files in the React application, you can do it here in the spec file too! After importing all the constants are available here and you can use them everywhere.
The constants.js file looks something like this,
export const constants = {
  SIGN_IN: "/users/sign_in",
};
Now let’s look at some commands that greatly helped me when writing test cases. I hope that will help you in any situation.
Within()
Let’s assume, we have a modal in our application. The modal will appear after clicking a button. In this case, the modal has a “Submit” button and underneath the modal, which means the home page also has a “Submit” button. Cypress will find two submit buttons when you write cy.get('[data-test-id=submit_button]').
Now let’s see how I overcame this issue!
With help of the Within() function, it only returns inside the elements that you mentioned. You have to assign a test id for your modal and get that id using cy.get().
For Example: The within() command function should look like,
cy.get("[data-test-id=modal]")
  .click()
  .within(() => {
    cy.get("[data-test-id=submit]").click();
  });
Now, let’s move on to the most function that Cypress has, it’s called commands.js. With the help of that file, you can write a common function and you can call it inside any spec file.
For Example: Assume that updating the base URL is a common function. So, I write the Cypress function inside the commands.js file.
sample.spec.js
describe("Sample", () => {
  before(() => {
    cy.updateBaseUrl("SKCRIPT");
  });
});
commands.js
Cypress.Commands.add("updateBaseUrl", (orgName) => {
  Cypress.config("baseUrl", `http://${orgName.toLowerCase()}.lvh.me:3000`);
});
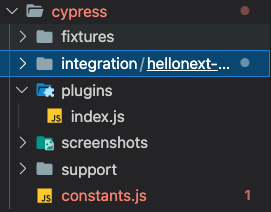
After writing the common functions you have to import the commands.js file in the index.js file. Now you can access the custom functions anywhere in the spec file. The commands.js and index.js file is present under the support folder.
That’s it guys! I covered everything that can help you get started with Cypress test cases. I hope you guys learned something and enjoyed it. So, the best thing is, I learn all of this when we writing test cases for our own product, Hellonext ↗. It’s a feature management tool that increases customer satisfaction. If you guys are curious about what it visit the website and have a look! Well it’s my time to sign off, meet you next time with another interesting topic!
Up next
What RPA Can Do to Your Business Process