
WidgetKit was introduced in WWDC 2020. It provides a timeline of useful content to display on your home screen. With SwiftUI and WidgetKit you can create a widget for iOS, iPadOS and MacOS with a single implementation. Let’s check out how to do this!
WidgetKit was introduced in WWDC 2020. Using WidgetKit, we can create cool looking widgets for our apps.
Widgets provide a timeline of useful content to display on your home screen. With SwiftUI and WidgetKit you can create a widget for iOS, iPadOS and MacOS with a single codebase.
Add Widget Extension
A widget is an extension for an existing project.
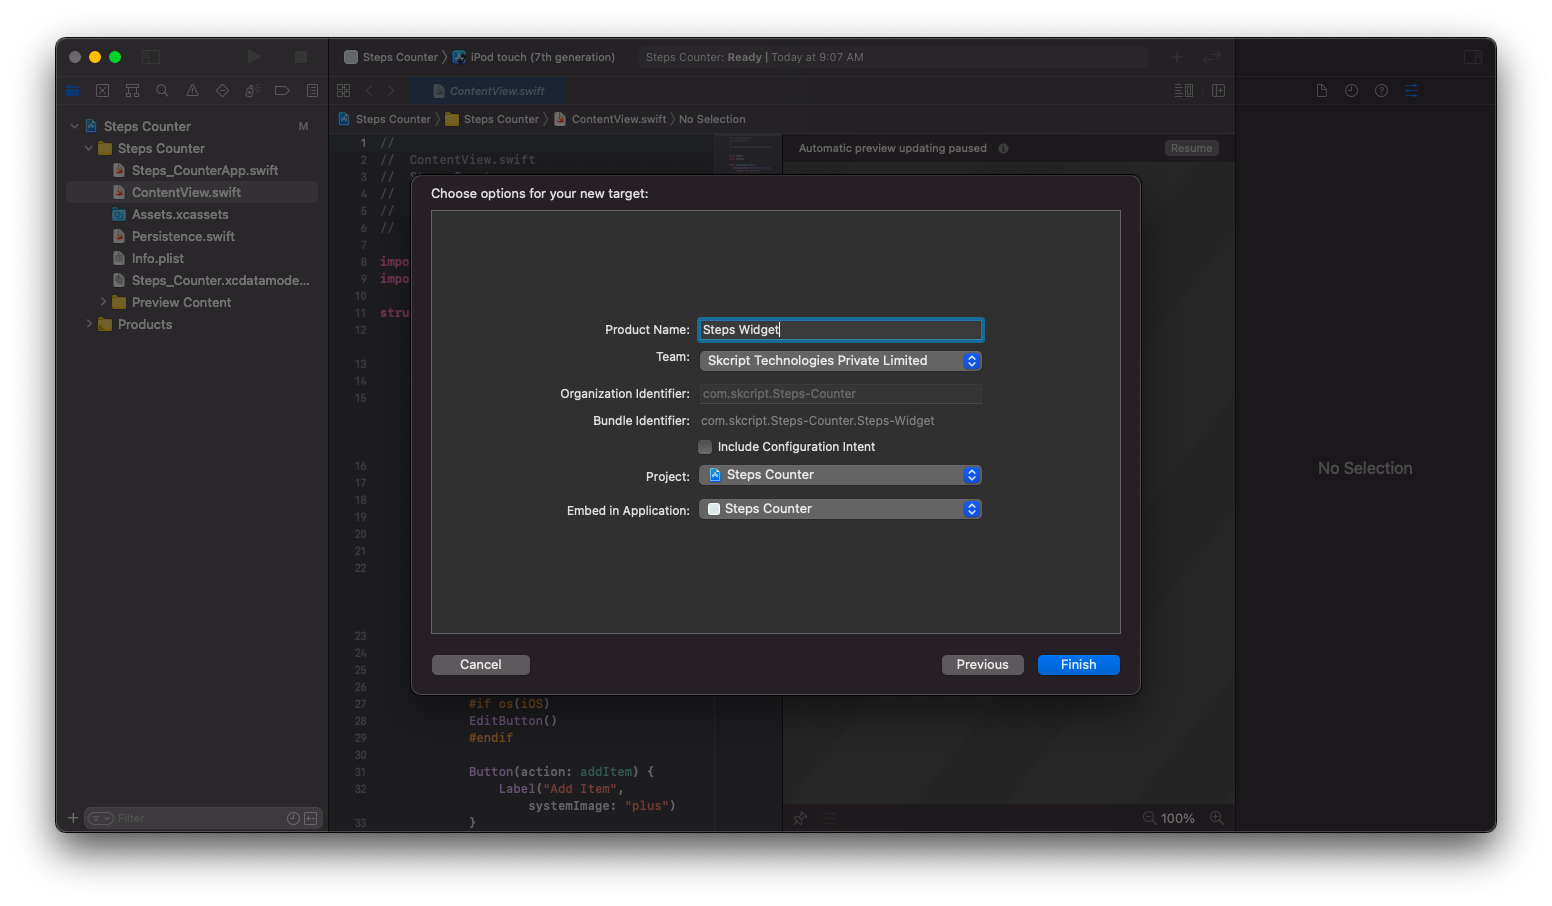
You can add a widget extension from menu bar File > New > Target. Search for the Widget extension and click next. Now give the widget a name and the set up is ready. Make sure to disable the checkbox for ‘Include Configuration Intent’.
Let’s start by creating a widget based on a static configuration.
Widget Configuration
There are two different ways to configure a widget – statically or dynamically. Whether a widget is static or dynamic doesn’t actually influence its ability to display dynamic data — but rather determines whether the user is able to configure the widget itself, or whether its presentation should be statically determined by our implementation.
Let’s say we create a widget that let’s users show their steps count. To configure our widget, we will create a type that conforms to the widget protocol, and we will then return an instance of StaticConfiguration from its body.
@main
struct StepsWidget: Widget {
  var body: some WidgetConfiguration {
      StaticConfiguration(
          kind: "StepsWidget",
          provider: Provider(),
          placeholder: Text("Steps Count"),
          content: { entry in
              WidgetEntryView(entry: entry)
          }
      )
      .configurationDisplayName("Steps Count Widget")
      .description("Show your steps count")
  }
}
Now our widget looks similar to SwiftUI views. Looking at the above initialization of StaticConfiguration, we can see that a widget’s configuration is made up of four parts.
- kind: This acts as an identifier for widget.
- provider: This acts as the widgets controller and this is responsible for determining what data that our widget should display at various points in time.
- placeholder: The system displays a view while our widget is loading its initial set of data.
- content: It acts as a factory for the content views that our widget will display.
Let’s get into building SwiftUI views for our widget.
Widget’s UI
The views that will be displayed inside the widget are similar to the SwiftUI views. For example, here’s how we could implement the WidgetEntryView that we returned from our widget’s content closure above.
struct WidgetEntryView: View {
    var entry: StepsEntry

    var body: some View {
        VStack(alignment: .leading, spacing: 5) {
            Text("Total Steps")
                .bold()
            Text(entry.count)
                .foregroundColor(.secondary)
                .font(.footnote)
        }
        .padding()
    }
}
The StepsEntry is our data model which is used in content closure and WidgetEntryView. It’s called an entry because widgets use a timeline metaphor that consists of entries along the axis of time — where each entry essentially represents an instance of our widget’s state.
So we don’t have to use @State and @ObservedObject inside WidgetEntryView since the system will take care of managing our views.
StepsEntry model:
struct StepsEntry: TimelineEntry {
    var count: Int
}
Our entry type is required to conform to the TimelineEntry protocol, other than that, we are free to define our entries.
Widget’s Provider
Now let’s create a widget provider by defining a type that confirms TimelineProvider protocol. This requires us to implement two methods, one for returning a snapshot and another for returning the current timeline.
struct Provider: TimelineProvider {
    func snapshot(with context: Context, completion: @escaping (StepsEntry) -> ()) {

    }

    func timeline(with context: Context,completion: @escaping (Timeline<StepsEntry>) -> ()) {

    }
}
snapshot() is for returning an entry as quickly as possible without any heavy operations like API calls. This is used in the widget gallery for users to get a preview of our widget before adding it to the home screen. This can be done by returning a static version of our widget with dummy data.
func snapshot(with context: Context, completion: @escaping (StepsEntry) -> ()) {
  let entry = StepsEntry(count: 1500)
  completion(entry)
}
With timeline() we don’t have restrictions like snapshot(). We can load data from our app’s main host or we can get widgets own data from the server.
In our case we are loading data from our app’s main host and call a method to load steps data. Then we map that data with a timeline.
var data = StepsData()

func timeline(with context: Context, completion: @escaping (Timeline<StepsEntry>) -> ()) {
    data.loadStepsCount { stepsData in

      let entries = stepsData.enumerated().map { count in
        StepsEntry(
            count: count
        )
      }

      let nextUpdateDate = Calendar.current.date(byAdding: .minute, value: 2, to: date)!

      let timeline = Timeline(entries: entries, policy: .after(nextUpdateDate))

      completion(timeline)
    }
}
We first created the Timeline property by providing entries and TimelineReloadPolicy. The system will use these to determine when the widget’s data should be reloaded.
In the above snippet, specifying the .after property, will configure it to refresh every 2 minutes to get data.
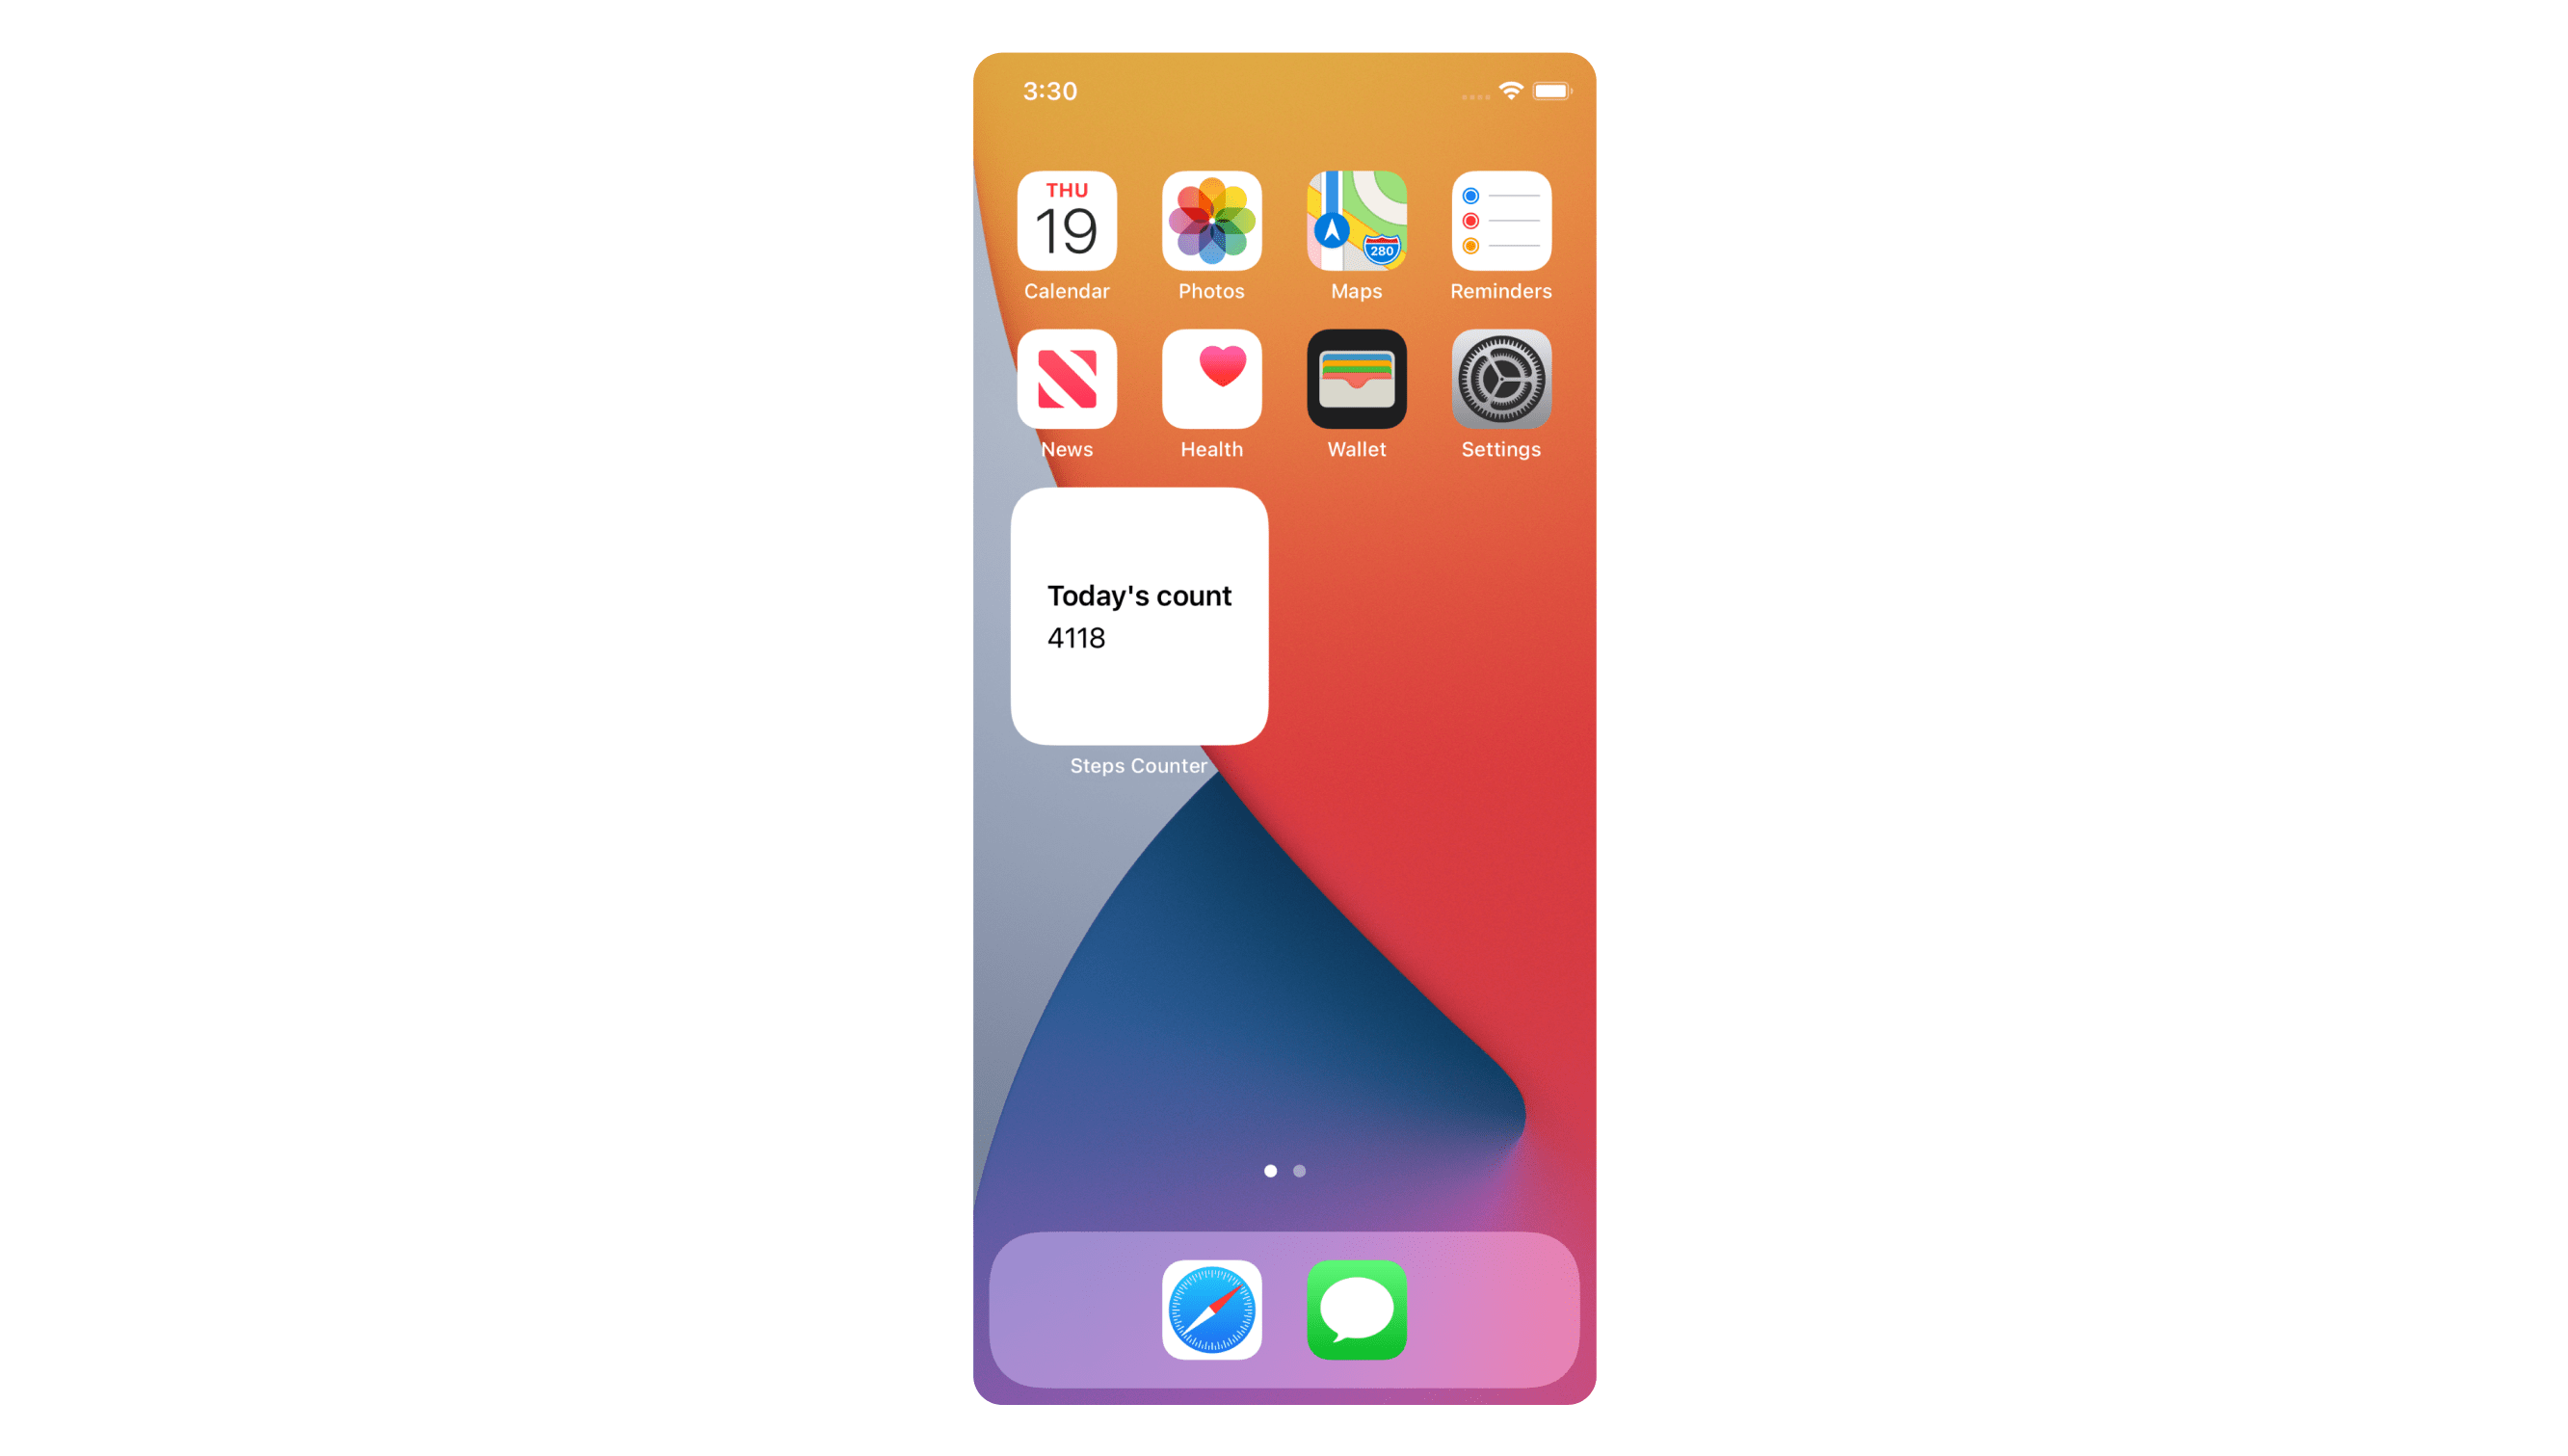
And with that, we have now created a basic widget that displays the user’s step count in the home screen.
Widget is a beautiful user facing feature that brings the home screen to life. There are a lot of fascinating concepts like this SwiftUI, meet you soon with another one.
Up next
RPA in Action - Industries Automating their Processes